
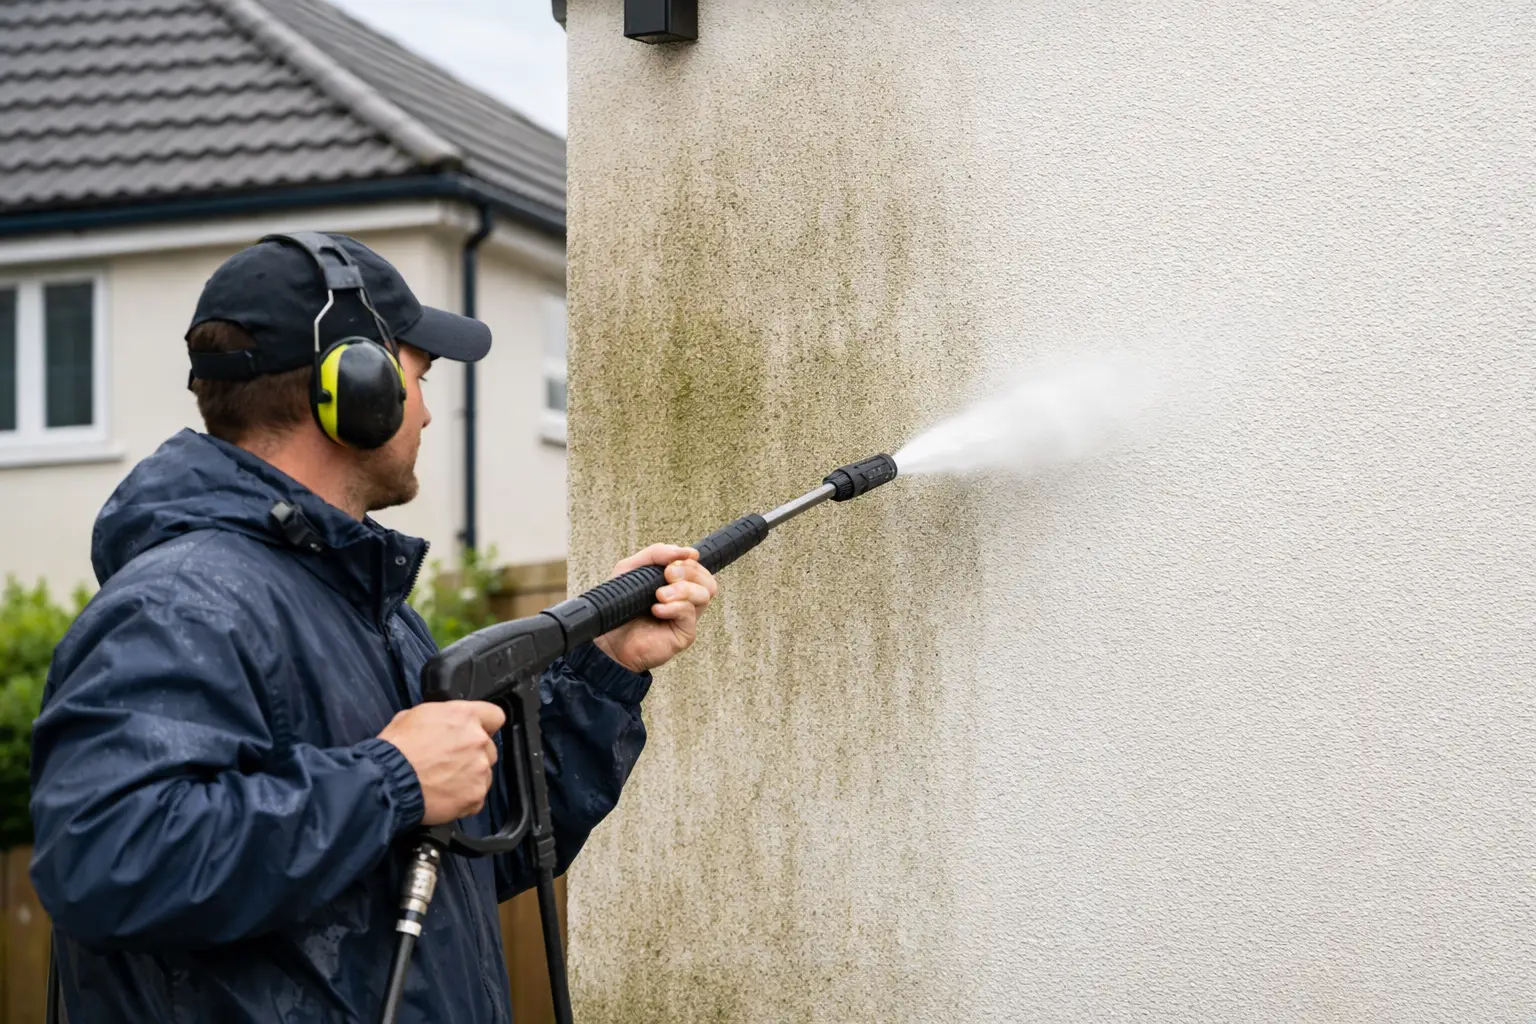
Green staining on the outside of a house can make the whole property look tired.
You may notice it first underneath window sills, on a shaded side wall, behind trees or on an elevation that gets very little direct sunlight.
A homeowner looking at it will often ask:
“Why has my render gone green, and can it be cleaned without damaging it?”
In many cases, yes — but the condition of the render matters just as much as the staining.
At Refresh Revive Exterior Cleaning, our normal approach to render is soft washing rather than high-pressure cleaning.
The aim is not to blast the wall until the marks disappear.
It is to understand what is growing on the surface, check the condition of the render and use an appropriate low-pressure cleaning method.
The right method for the surface, not simply more pressure.
Why does render turn green?
Moisture and shade play a big part.
Some elevations simply stay damp for longer than others.
You may see heavier green growth on:
- north-facing walls
- shaded sides of the house
- walls close to trees and vegetation
- areas with limited airflow
- sections beneath leaking or overflowing gutters
- parts of the property that receive very little sunlight
That is why two walls on the same house can look completely different.
One elevation may stay relatively clean while another gradually turns green.
Cleaning can improve the appearance, but if the conditions causing the dampness remain, the growth can eventually return.
What are the green marks on my render?
Green staining is often associated with organic growth such as algae.
But not every mark on a rendered wall has the same cause.
You may also see:
- darker organic staining
- general atmospheric dirt
- marks around window sills
- rainwater streaks
- staining underneath gutters
- old repairs
- faded or weathered areas
This matters because cleaning can remove contamination, but it cannot necessarily correct every change in the render itself.
If the colour has permanently faded or a previous repair is a different shade, washing the wall will not make those differences disappear.
Can you pressure wash render?
Our normal answer is:
We would not use high pressure as the standard method for cleaning render.
Render is very different from concrete or block paving.
It can already have:
- cracks
- loose areas
- flaking paint
- old repairs
- weak or deteriorating sections
- hollow areas
Using excessive pressure on a vulnerable wall can create unnecessary risk.
That is why we would rather assess the render and use a lower-pressure, treatment-led approach where appropriate.
What is soft washing?
Soft washing uses lower pressure together with an appropriate treatment to deal with organic contamination.
Instead of relying on water pressure to force the staining from the wall, the cleaning process is chosen around what is actually growing on the surface.
That makes it particularly useful for render.
It does not mean every mark is guaranteed to disappear, and it does not repair defects in the wall.
It is a cleaning method, not a repair method.
Will soft washing make my render look brand new?
Sometimes the visual improvement can be substantial.
But we would never promise that every rendered wall will look brand new afterwards.
Cleaning cannot reverse:
- faded colour
- cracked render
- missing material
- failing paint
- permanent discolouration
- old repairs
- deterioration within the render itself
Once organic growth and surface dirt are removed, some of those underlying differences may actually become easier to see.
That does not mean the clean has failed.
It means the dirt was hiding the true condition of the wall.
Our aim is the best sensible improvement, not an unrealistic promise.
We'd rather tell you honestly what can and can't be achieved before we start than promise you a perfect result just to win the job.
When might render cleaning not be the right first step?
This is an important question.
Sometimes a dirty-looking wall actually has another problem that needs dealing with first.
For example, we would want to take extra care if we found:
- significant cracking
- loose render
- crumbling areas
- flaking coatings
- suspicious hollow sections
- signs of repeated water leakage
- badly failed previous repairs
If cleaning an area could create more harm than improvement, we would reassess it.
And if a repair is really what the wall needs, we would rather tell the customer that.
Cleaning should not be used to disguise a maintenance problem.
What if an overflowing gutter is causing the staining?
This is a good example of why we look beyond the wall itself.
If a gutter or downpipe repeatedly sends water down the same section of render, cleaning may make the wall look considerably better.
But if the source of the water is not dealt with, the same area may start staining again.
The sensible approach is to deal with the cause as well as the appearance.
The same can apply to:
- blocked gutters
- leaking downpipes
- heavy vegetation
- poor airflow
- permanently shaded areas
How do you protect plants when soft washing?
The area around the wall matters too.
Before treatment, we consider nearby:
- plants
- grass
- windows
- doors
- paving
- delicate surfaces
- neighbouring property
- drainage
Depending on the job, plant protection may include:
- pre-wetting vegetation
- covering particularly sensitive areas where appropriate
- carefully controlling spray
- avoiding unnecessary overspray
- rinsing surrounding areas afterwards
We do not look at the rendered wall as though nothing else exists around it.
Protecting the surrounding property is part of planning the clean.
What do you check before cleaning render?
Before starting, we want to know what we are dealing with.
That may include checking:
- the general condition of the render
- cracks
- loose sections
- flaking paint
- previous repairs
- areas of heavy staining
- nearby plants
- windows and doors
- access
- water supply
- drainage
- where water and treatment may travel
If we notice questionable or damaged areas, we may photograph them before work begins.
That gives both us and the customer a record of the property's existing condition.
Why take photographs before cleaning?
Because exterior surfaces are rarely perfect before work begins.
A wall may already contain a crack or failed patch that has nothing to do with the cleaning.
Photographing it means we can say:
“We've noticed this before we start. This is what it looks like, and this is how we're going to approach it.”
That is much better than ignoring it and hoping nobody notices later.
The photographs can also be useful when comparing the appearance before and after cleaning.